How to Soften Butter


Often I will start cooking a recipe and realize that I have forgotten to allow my butter to become room temperature. Luckily I have a few tricks that I use to help remedy the situation. Below I have listed a few of my favorite butter softening techniques. 

Refrigerated butter will take approximately 30-45 minutes to get to room temperature on the countertop. (Of course this depends on the temperature of your room.) Frozen butter will take a few hours to fully thaw.

Remember to measure the required amount of butter needed for your recipe before trying these softening tricks. It can be messy to try to measure afterwards.
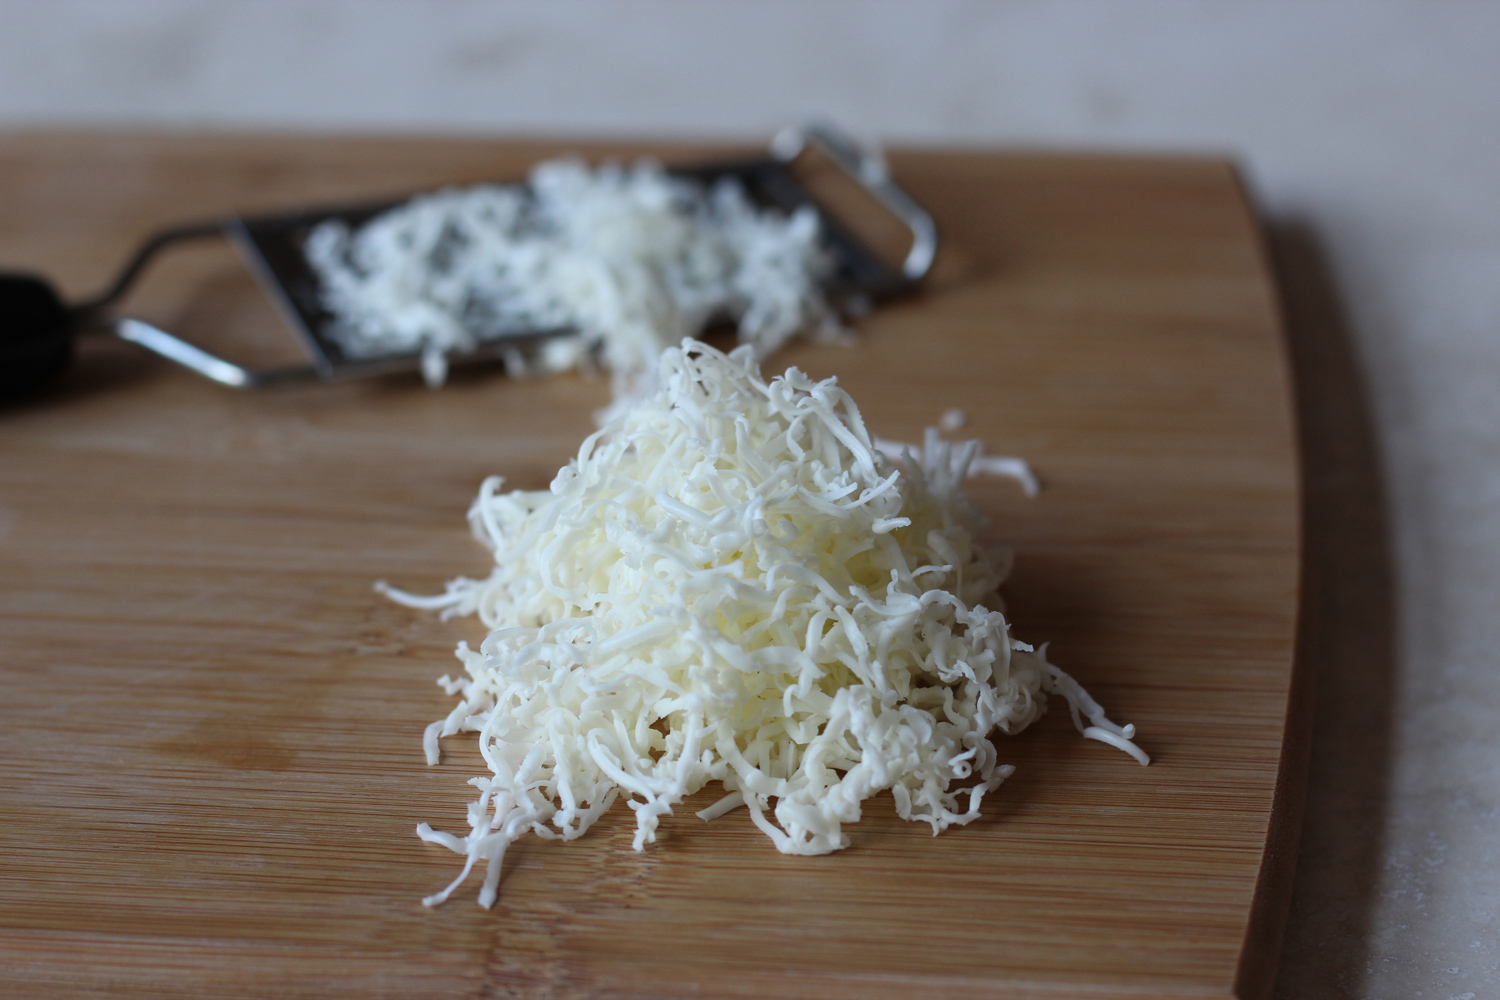
GRATE

My favorite way to quickly soften butter is to grate it. Grating works well for refrigerated or frozen butter. I usually grate the butter directly into the mixing bowl. You can also grate onto a plate or cutting board. Keep butter wrapper on and peel away as you go. The packaging will help keep your hands clean.

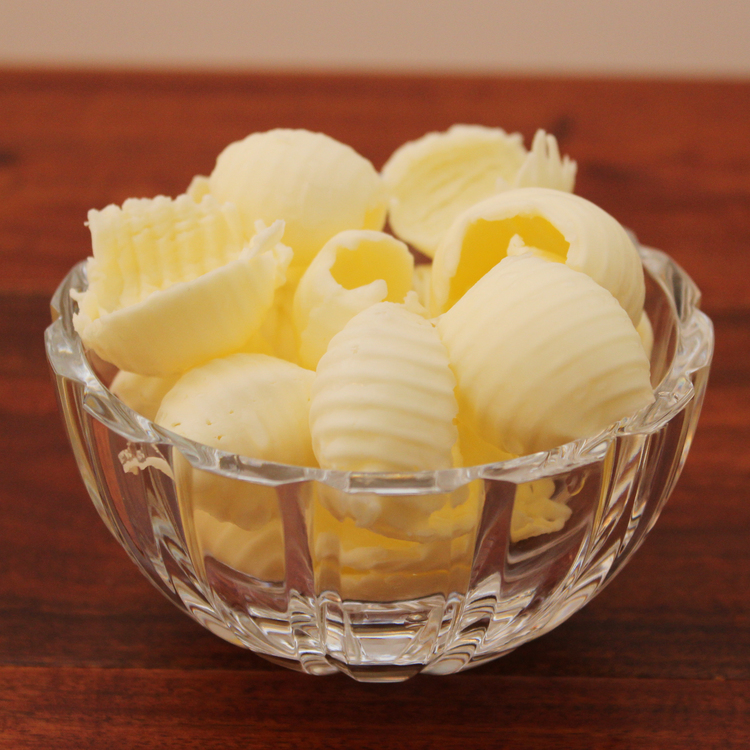
Some people recommend using a cheese plane to cut thin slices of butter. I found this more difficult than grating.

ROLLING PIN

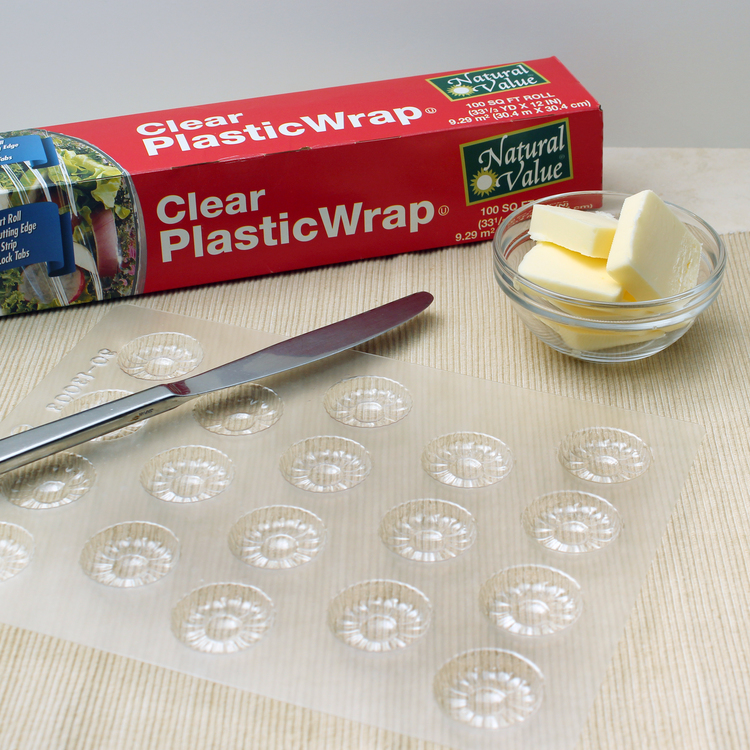
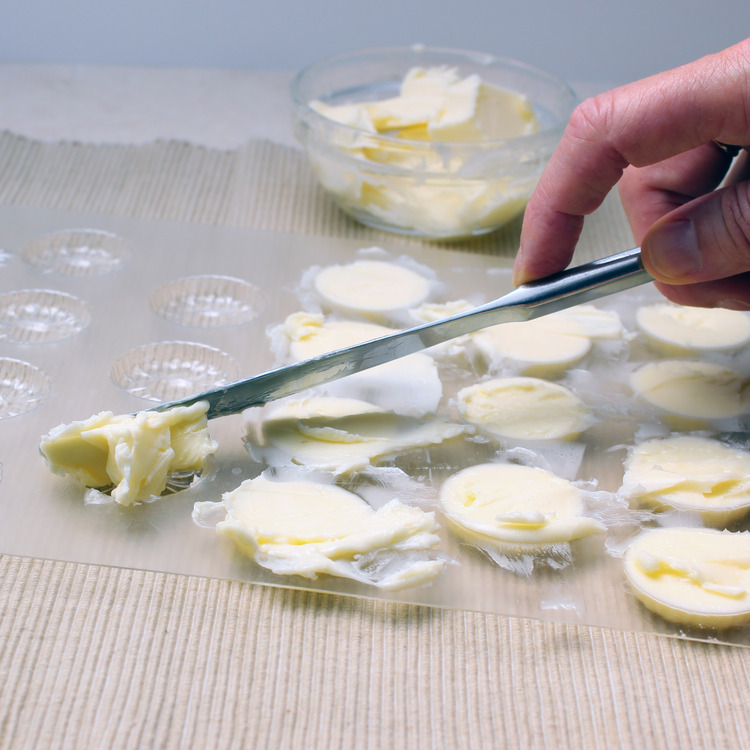
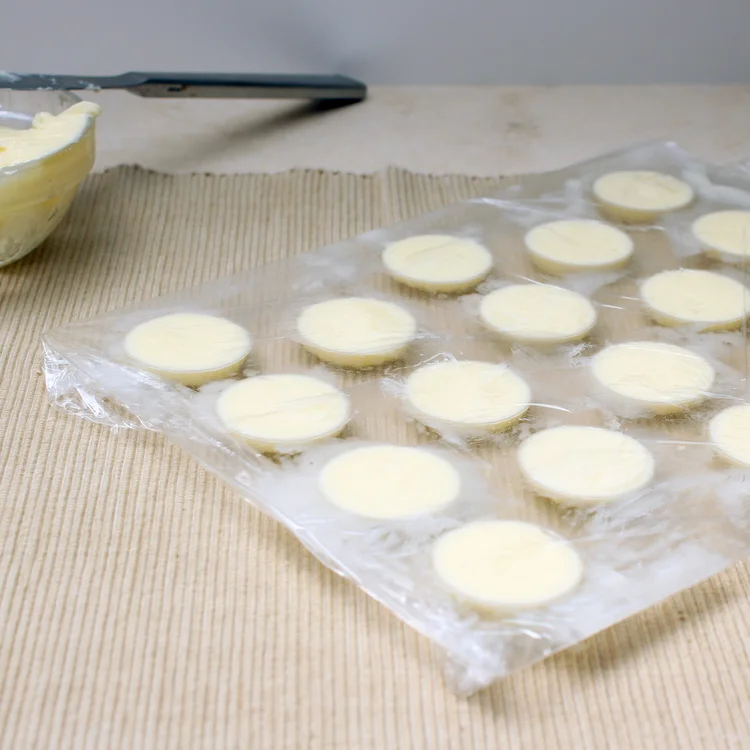
Take refrigerated butter and place between two sheets of waxed (or parchment) paper. Hold rolling pin handles with both hands and gently pound the butter evenly to flatten to 1/8 of an inch. Remove the butter from the paper before it becomes too soft.

CUBE

Cut butter into small chunks and let sit at room temperature until the butter yields to light pressure.

OTHER

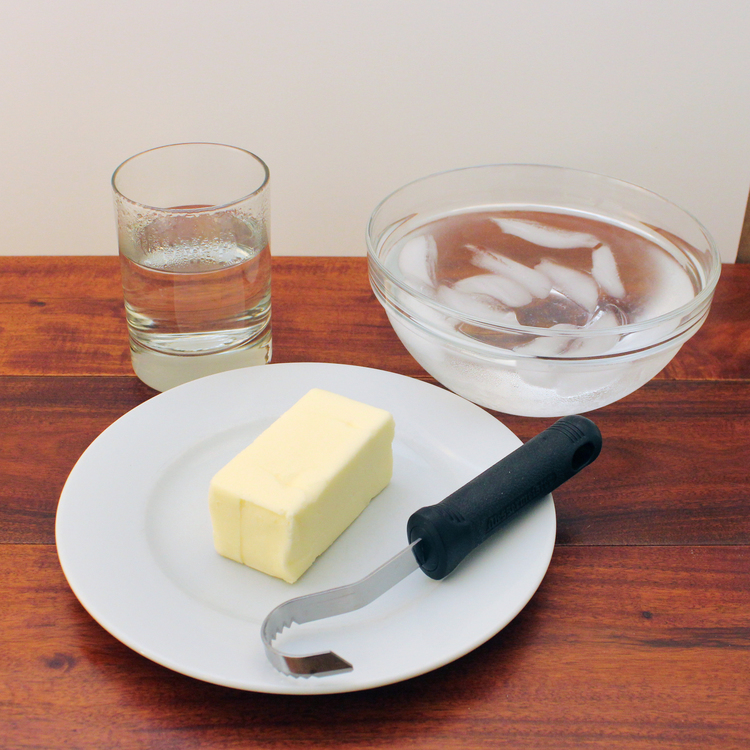
HOT BOWL – Place refrigerated butter onto a plate. Find a bowl and fill with hot water. Allow the bowl to fully heat up. Pour out water and dry bowl. Invert bowl over the butter. Let sit for a few minutes.

CREAM - You can cream refrigerated butter. Chop up into small pieces and use a stand mixer or hand blender. Blend until soft.

MICROWAVE – Some recommend softening butter in the microwave, but I don’t. Heating butter in the microwave will alter the emulsion. I only use the microwave if my recipe calls for melted butter.


Butter Curls

1. You'll need: Butter curler (or melon baller), stick of butter, bowl of hot water, bowl of ice water.

3. Holding the end of the butter stick with one hand, place the curler hook at the end of the butter stick, pull curler across the top of the butter. Drop finished curl into ice water. Dip curler into hot water before starting each curl. Repeat on all sides of the butter stick.

2. Place curler in hot water to warm metal.  Let butter sit out for 5-10 minutes before making curls.

4. Keep refrigerated until ready to use.


Butter Molds

You can use traditional butter molds or anything that will create a shape you like. I am using a candy mold in this lesson.

1. What you will need: Room temperature butter, a knife, plastic wrap, a mold. 

3. When you have filled all of the mold shapes, make butter flush with base of mold by using the back of the knife (or a pastry scraper or spatula)

2. Spread the butter into the mold. Pushing down to remove any air bubbles.

4. Cover with plastic wrap. and place in the freezer.                                                                                                                                                                                                    

5. When hardened, remove from freezer and pop out butter from mold or tap mold on table. If butter doesn't come out easily, rinse under warm water.

6. Keep refrigerated until ready to use.


Quenelles and Rocher

Quenelles

A quenelle, pronounce kuh-NEHL, traditionally is a delicate dumpling made of seasoned ground meat or vegetables that are gently poached in stock. This oval shape has become very popular for other items, such as butter, potatoes or dessert. 

There are a few methods for achieving the oval shaped quenelle. Below are directions for a one- and a two-spoon quenelle.

Photos by Scott Phillips

To create a quenelle, you’ll need two spoons of the same size. The size of the spoon will determine the size of your quenelle.

With a spoon in each hand, scoop a generous amount of mousse into one spoon. Gently press the bowl of the second spoon against the mousse, scooping the contents from the first spoon into the second.  Transfer the mousse back to the first spoon in the same manner. This begins to create a smooth, rounded surface where the mousse molded to the spoon.  Keep scooping back and forth until you have a nice, smooth oval shape.

- Article by Melissa Pellegrino, December 2009, Fine Cooking Magazine, ©2009 by The Taunton Press Inc. www.finecooking.com


ROCHER

Rocher video courtesy of ChefSteps.

A rocher, or one-handed quenelle, is a way to give a beautiful oval shape to butter. Chefs are taught to make a quenelle with two spoons, and that can work well, but by design it creates three curving sides to the shape. For smooth foods, such as butter, a one-handed quenelle is faster and yields a shape with no apparent edges.

A perfect rocher is simple in theory, but it's challenging in practice. The butter must be at room temperature, or a little firmer, so the rocher will form and hold its shape. The food should be uniform, without large voids of trapped air, which would show up as craters in the rocher. The spoon needs to be deep-bowled rather than flat (look for good ones at a thrift store or antique shop). And the spoon must be hot enough to release the rocher, but not so hot that it melts the food. If necessary, warm the bottom of the spoon with your hand to help release the rocher. A rocher will work with any smooth food, such as, ice cream, mashed potatoes, or ganache.

The technique takes practice, but if you spend the time, your dishes will reflect the effort. A rocher makes the simplest of components appear elegant and light.

ChefSteps offers a variety of videos that will inspire and educate cooks at any skill level, visit their website here


Making Homemade Butter

Making homemade butter is fun, easy and delicious.  All you need is heavy cream and a mason jar.

1. Purchase quality heavy cream. Let the cream sit out for 12 hours before making. This allows the cream to ferment/sour.

3. As you are shaking, you will first see that the liquid clings to the sides the jar. Keep Shaking.

5. Open the jar and you can see the butter. The liquid is buttermilk.

2. Shake jar in a firm downward motion. (Like holding a hammer with two hands and hammering a nail) 

4. After about 3 minutes of shaking you will start to feel something solid sloshing around. The liquid doesn't cling to the jar anymore. 

6. Pour out the buttermilk and save to use for baking or drinking. 

7. Rinse off the excess buttermilk with water. Rinse and drain until water runs clear.

8. The butter is ready to use. Add salt if desired. Yum!